
Dive, Crawl, and Turn
- Move in the direction you want to dive, then press X.
- Once grounded, use WASD together with mouse aim to crawl and change your orientation.
- Turn toward a reachable target and continue controlling your arms and legs, or press Space when you want to get up.
You remain grounded until you request a get-up. Use that time to change your angle instead of waiting for an automatic return to standing. A dive or fall alone does not mean the fight has ended; ground combat continues while the bout is active.
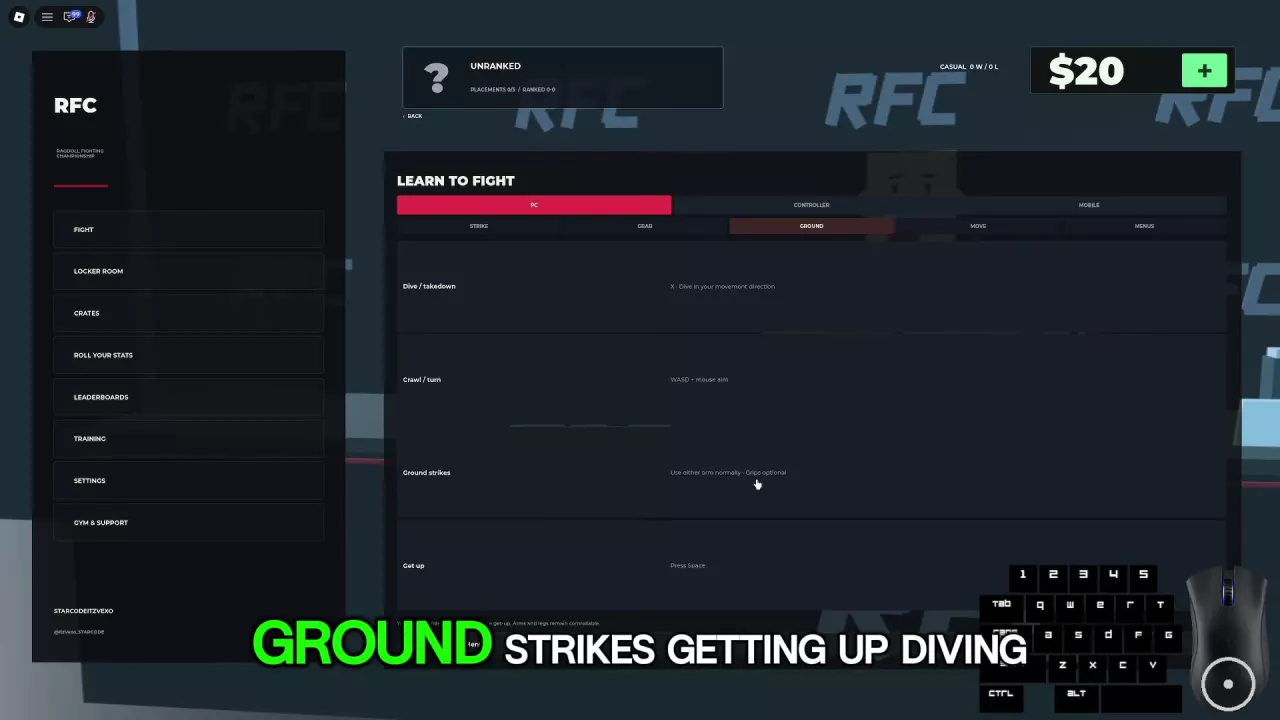
Find a Position That Lets You Attack
Aim for a position where you can control the opponent and still reach them with a hand or foot. Top position is useful for ground-and-pound, while moving toward the opponent’s back gives you another position from which to control their body.
Position can change throughout a scramble. You can lose top position, rise into a standing clinch, go down again, and regain the top. Even initiating a leg grab can leave you underneath, so respond to where you actually land.
- On top with a clear striking angle: keep control and use the limb that can reach the target. If an attempt to control an arm is ineffective but a punch is available, use that opening.
- On top with a blocked angle: change your orientation or choose the other hand or leg. Being above the opponent does not help much if your attacks cannot reach them.
- Underneath: keep using available ground movement and limb controls. A poor position can make retaliation and standing difficult without disabling every action.
- Tangled up with an obstructed view: reposition, release your own grip, or request a get-up to seek a more usable angle.
These are positional choices, not a fixed reversal combo. Keep adjusting as the opponent moves.
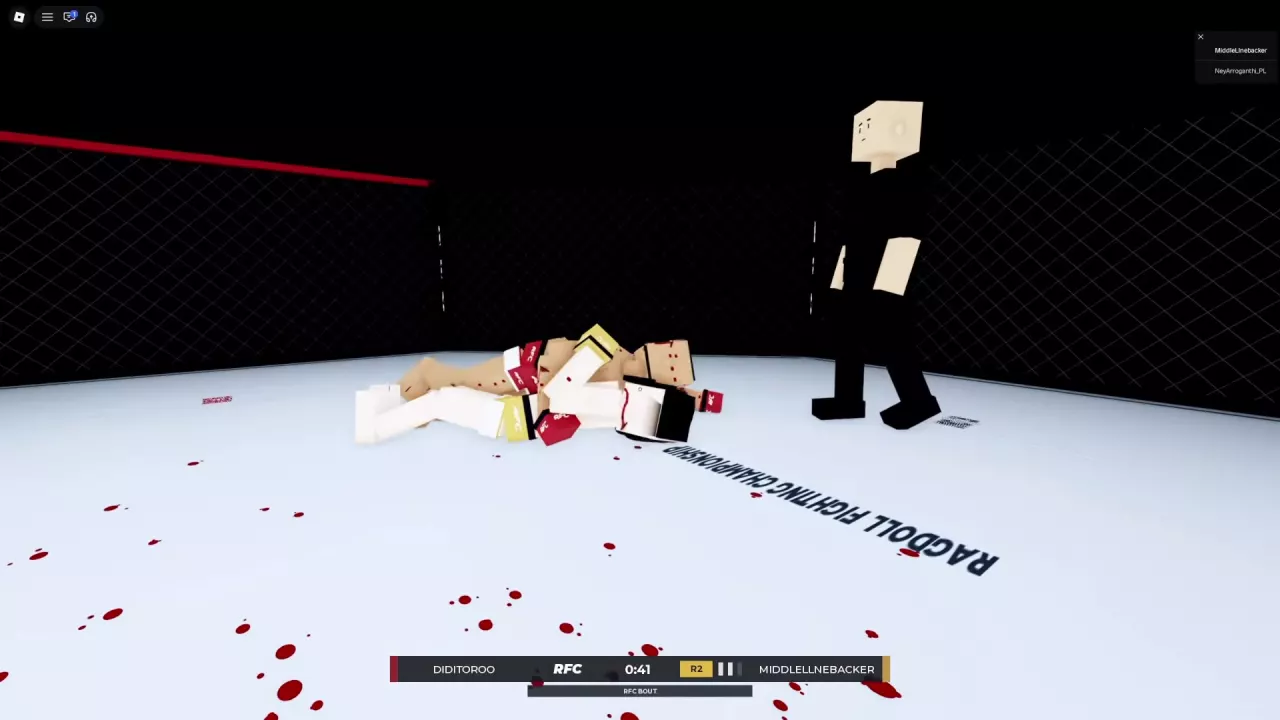
Punch with or Without a Grip
You do not need a grip to punch on the ground. Move within reach and use either arm normally. After knocking an opponent down, follow them into range and line up a hand with their head before throwing repeated punches.
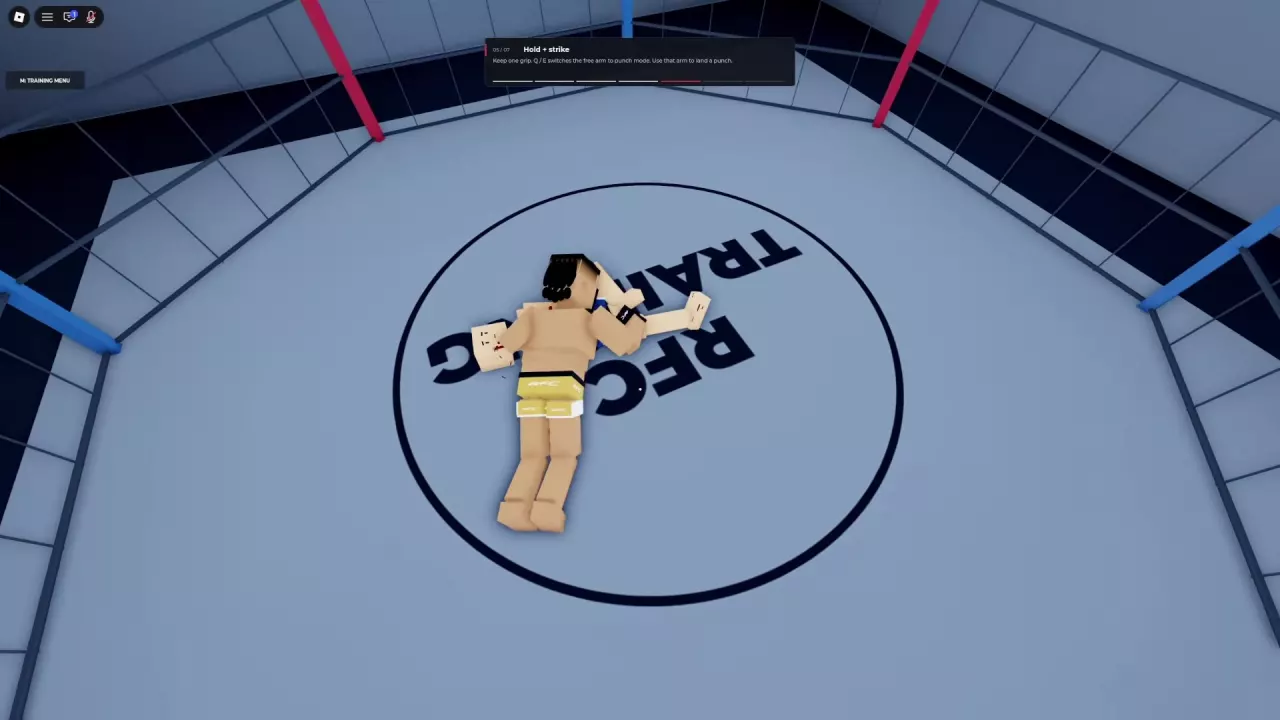
To combine a retained grip with punches:
- Press G to enter grab mode. Hold a mouse button and guide the corresponding hand into contact with the opponent to establish a grip. Release the mouse button to keep that grip.
- Keep one hand attached. Press Q to free the left arm for punching or E to free the right arm.
- Adjust your body so the punching hand has a clear path to the target. A hand beside the opponent’s head gives you a useful angle.
- Attack with the free arm using your selected control mode.
| Arm mode | Ground punch input |
|---|---|
| Simple | Click the corresponding mouse button to punch. |
| Full | Hold the corresponding mouse button and move the mouse to guide the arm toward the target. |
Use the small white square that appears during attacks as a damage-feedback cue when judging your angle. It can be harder to see against some arena backgrounds. If your hand keeps missing, change its path or your position instead of relying on repeated inputs alone.
The opponent underneath can punch back, so top position still requires active adjustment. For the full input reference, see PC controls and arm modes. For grip repositioning, takedowns, and joint pressure, see the grappling guide.
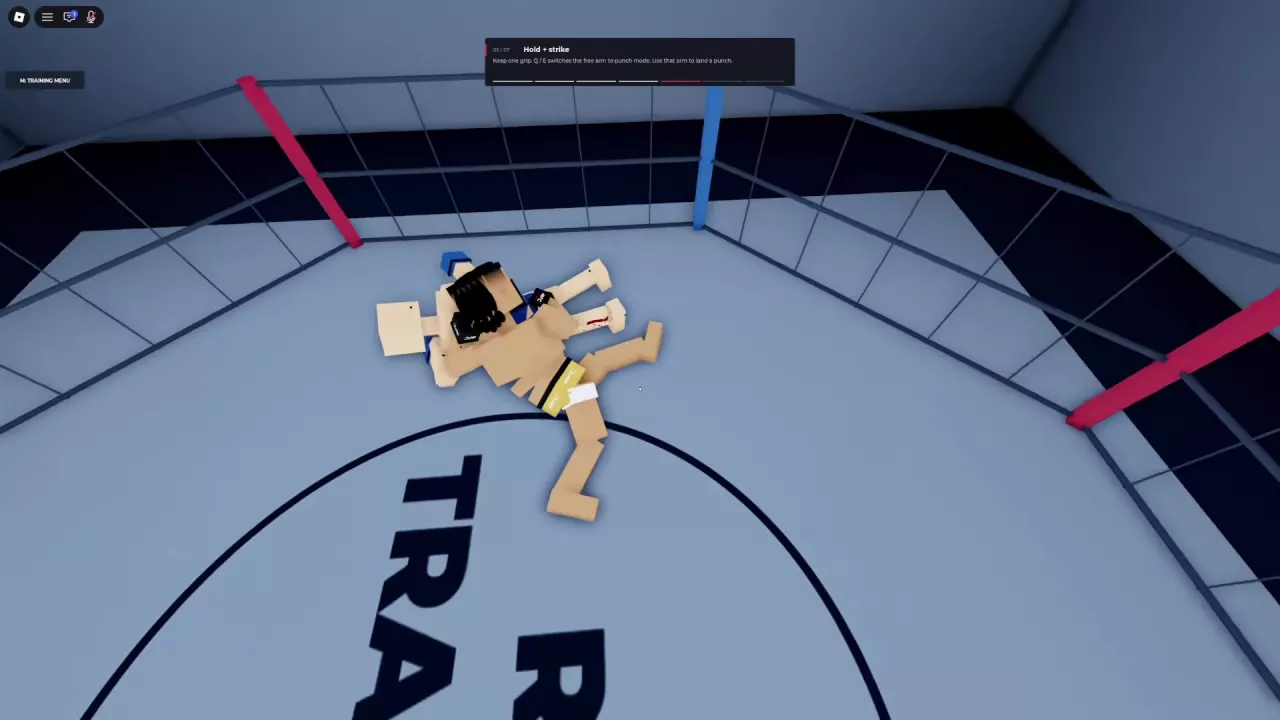
Guide Both Legs While Holding
While maintaining a grip, you can use your legs for strikes or careful positioning. A two-handed hold lets you keep both hands attached while working a leg into range.
- Position yourself beside or over the grounded opponent so a foot can reach them.
- Hold R for the left leg or T for the right leg, then move the mouse to guide it.
- Use a fast mouse sweep to kick, or move slowly to place the leg more carefully.
- Release the control to hold the pose. Use Space / Get Up to reset it.
Choose the target your current angle makes reachable. From a two-handed hold beside a downed opponent, kicking their legs is one option. Try the head when your foot has a clear path to it. If the selected leg cannot reach effectively, switch legs or reposition; a left-leg attempt can offer a different angle when the other side is awkward. Requesting a get-up is another option when the whole position is unproductive.
Holding a limb-control input locks the camera for guidance. Keeping a grip by itself does not lock it.
Slow leg placement also supports grappling positions. See grip control and joint pressure for that part of the ground exchange.
Request a Get-Up and Handle a Remaining Clinch
Press Space while grounded to request a get-up. Under sustained top pressure, treat this as a request to stand rather than an instant escape; keep using your available ground controls while you are still down.
Once upright, check whether you are still attached to the opponent. Fighters can stand while remaining in a clinch and then return to the ground. Press G to release your own grips if you want to disengage, then adjust your distance as the position allows. Releasing your grips does not release the opponent’s hold for them.
Weight and get-up time
| Weight | Get-up time modifier |
|---|---|
| 155 lb | +1% |
| 170 lb | +1% |
| 174 lb | +2% |
| 180 lb | +2% |
A positive get-up time modifier means more time spent getting up, not a speed bonus. Among these weights, 155 and 170 lb have the smaller time penalty. The additional power and lift resistance at 174 and 180 lb come with a larger get-up penalty and reduced acceleration. Compare those tradeoffs in fighter stats and build choices.
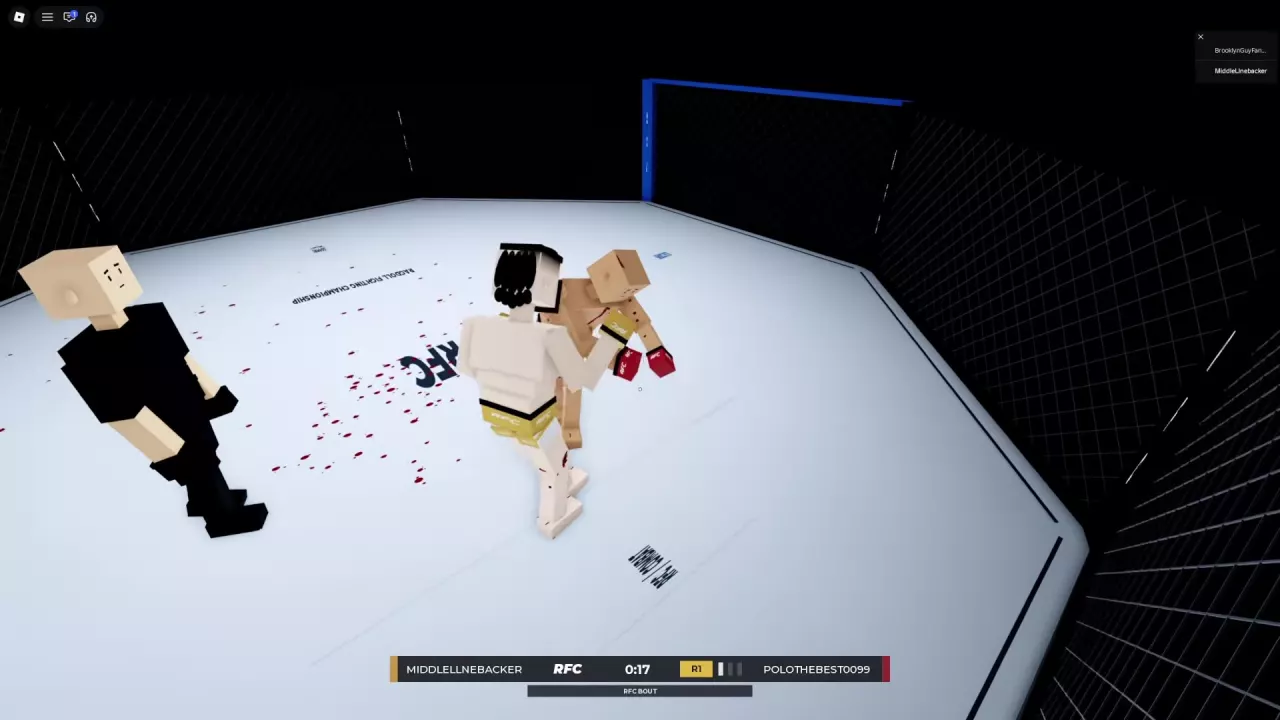
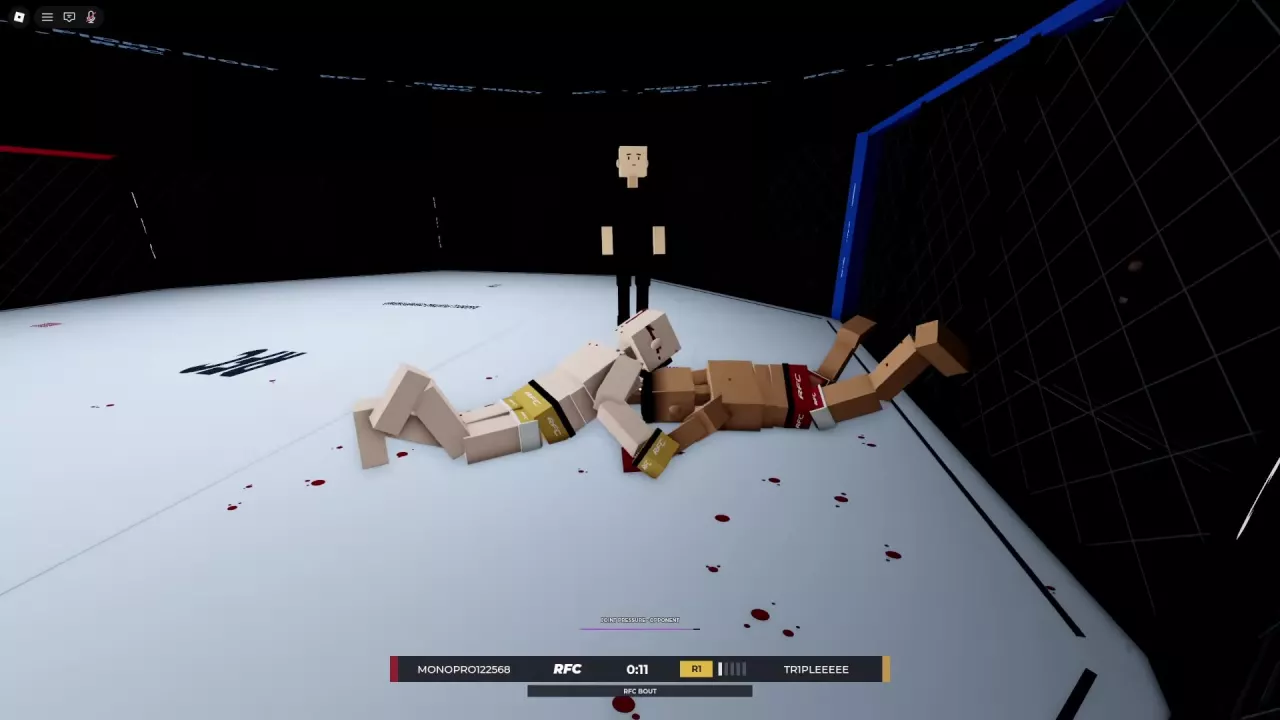
Ragdoll MMA Grappling Guide: Grabs, Slams, and Joint Pressure
Learn how to grab, reposition, release, and slam in Ragdoll MMA, plus leg takedown attempts, submission positioning, and joint-pressure warnings.
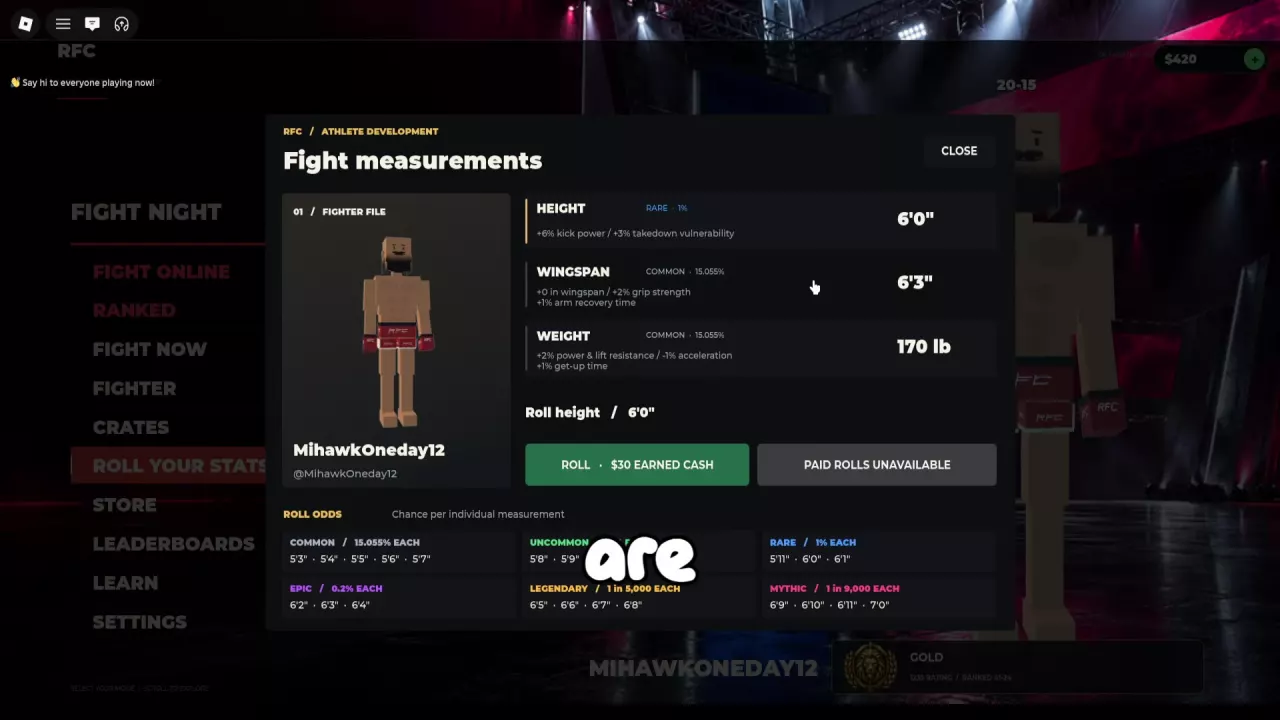
Ragdoll MMA Fighter Stats and Build Choices
Compare Ragdoll MMA fighter stats, browse every height, wingspan, and weight option, and choose combat benefits and tradeoffs worth keeping.
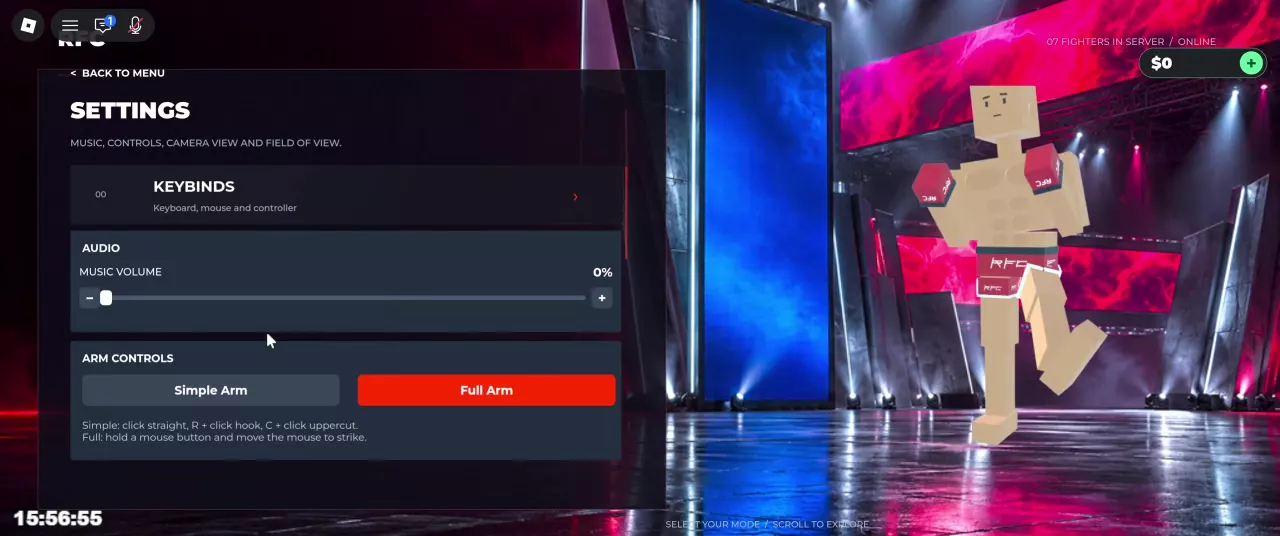
Ragdoll MMA PC Controls and Arm Modes
Find Ragdoll MMA PC controls for punches, kicks, grabs, and ground combat. Compare Simple Arm and Full Arm, switch views, and use the taunt wheel.
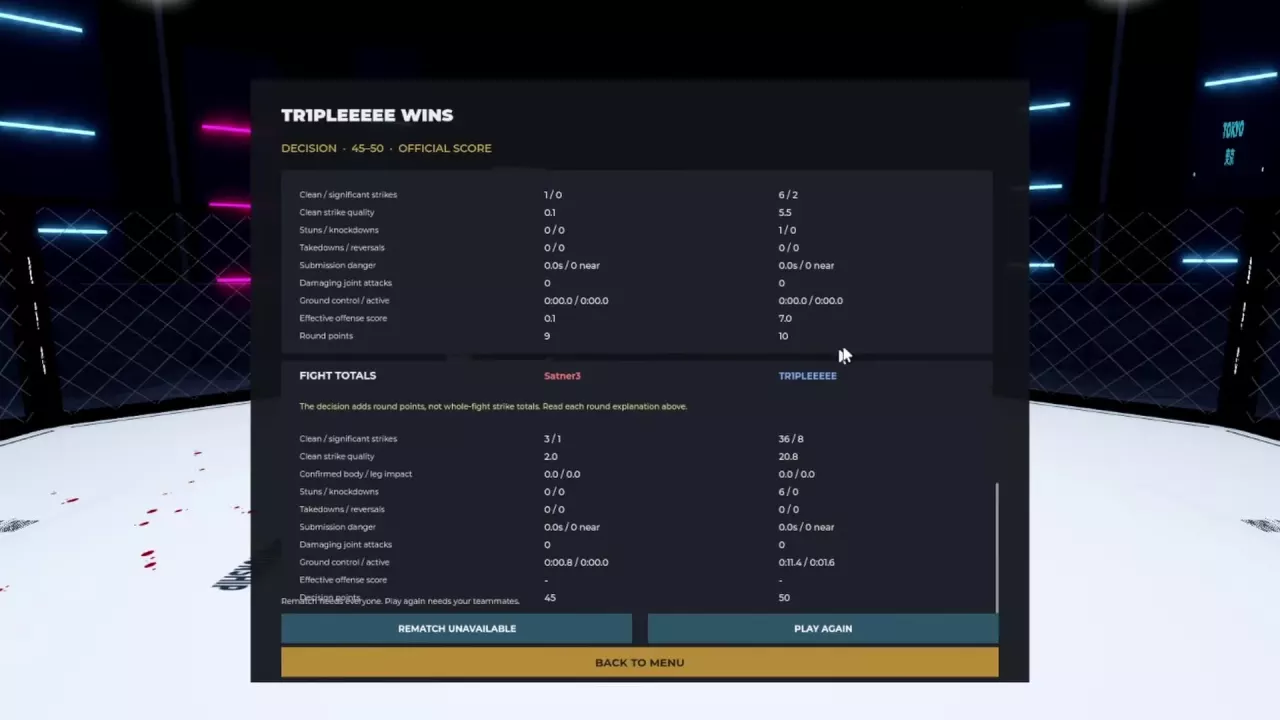
Ragdoll MMA Scoring System: Decisions and Fight Stats
Understand the Ragdoll MMA scoring system, read every round statistic, and use real scorecards to improve striking, takedowns, and ground control.