
Decisions Add Round Points
When a fight ends by decision, the winner is determined by the accumulated round points. Landing more strikes across the entire fight or leaving your opponent visibly injured does not, by itself, explain the result.
| Round outcome | Score |
|---|---|
| Clear round win | 10–9 |
| Overwhelming damage | Can produce 10–8 |
| Even round | 10–10 |
To diagnose a decision loss:
- Open the post-fight Official Score panel and check the final decision score.
- Scroll through the rounds and compare each fighter’s Round points.
- Read the explanation attached to each round, then compare the statistics that explain that advantage.
Round explanations can credit stronger effective striking, more confirmed stuns, or more established takedowns. Use those explanations alongside the numbers instead of treating a single statistic as the result. For round structure and other ways a fight can end, see the match rules guide.
Read the Scorecard Labels
Compare both fighters within the same round before moving to the full-fight totals. Slashes separate the categories named in a label: 8 / 2 under Clean / significant strikes means eight clean strikes and two significant strikes, not eight successful attacks out of two attempts.
| Scorecard label | How to read it |
|---|---|
| Clean / significant strikes | Paired counts: clean strikes first, significant strikes second. |
| Clean strike quality | A separate decimal value for strike quality. It is distinct from the number of strikes. |
| Stuns / knockdowns | Paired counts: stuns first, knockdowns second. |
| Takedowns / reversals | Paired counts: takedowns first, reversals second. |
| Submission danger | The submission-threat category, displayed with a duration and a “near” count. |
| Damaging joint attacks | The count listed for damaging joint attacks. |
| Ground control / active | Two durations: ground-control time first, active time second. For example, 0:21.7 / 0:00.0 means 21.7 seconds of control and zero seconds of active time. |
| Effective offense score | A separate offense value to compare alongside the round explanation. It is distinct from both strike quality and round points. |
| Round points | The points awarded for that round, which contribute to the decision total. |
Keep counts, quality values, durations, and round points separate. A fighter can lead in clean strike quality yet lose the round when the rest of the effective offense favors the opponent.
A 29–28 Decision, Round by Round
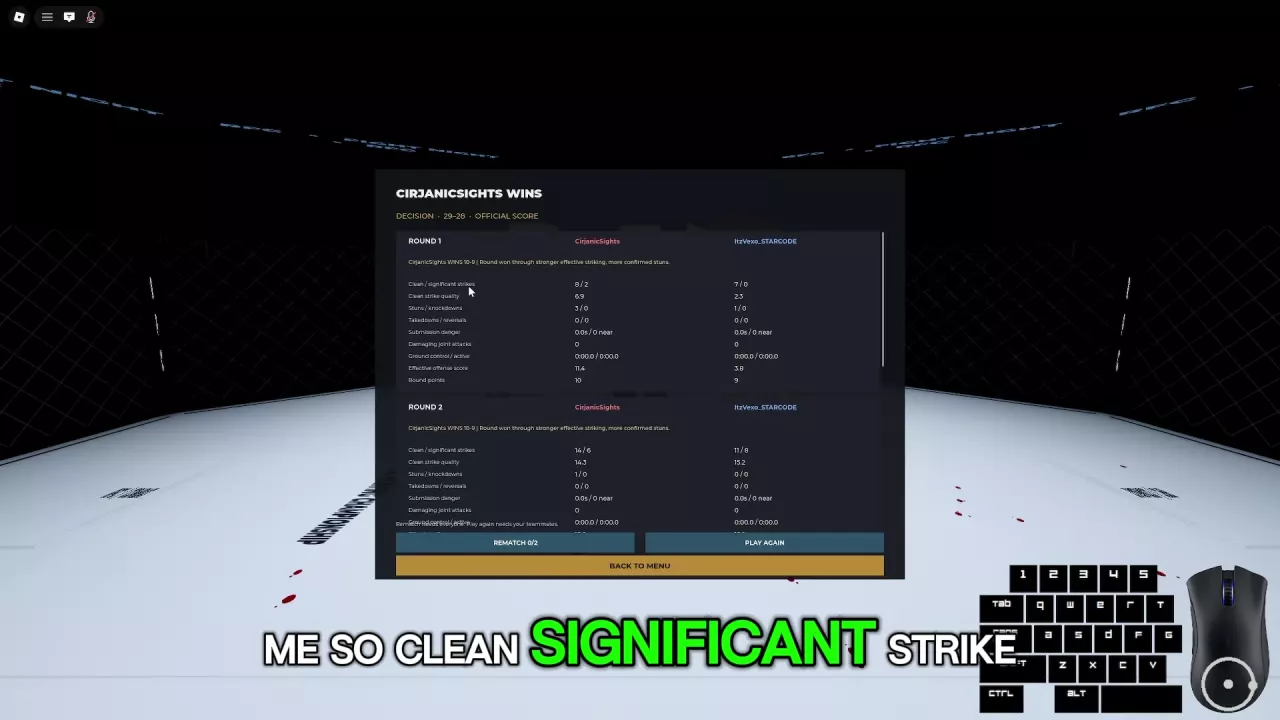
CirjanicSights beats ItzVexo_STARCODE 29–28 by winning the first two rounds and losing the third. In every comparison below, CirjanicSights is listed first.
| Round | Clean / significant strikes | Clean strike quality | Stuns / knockdowns | Effective offense score | Round points |
|---|---|---|---|---|---|
| 1 | 8/2 vs. 7/0 | 6.9 vs. 2.3 | 3/0 vs. 1/0 | 11.4 vs. 3.8 | 10–9 |
| 2 | 14/6 vs. 11/8 | 14.3 vs. 15.2 | 1/0 vs. 0/0 | 15.8 vs. 15.2 | 10–9 |
| 3 | 5/2 vs. 5/1 | 3.6 vs. 4.6 | 0/0 vs. 0/0 | 3.6 vs. 4.6 | 9–10 |
The points add up to 10 + 10 + 9 = 29 for CirjanicSights and 9 + 9 + 10 = 28 for ItzVexo_STARCODE. Takedowns/reversals, submission danger, damaging joint attacks, and ground control/active are all zero for both fighters in these three rounds.
Round 1: The explanation credits CirjanicSights with stronger effective striking and more confirmed stuns. The clean-strike counts are close, but quality, stuns, and effective offense favor CirjanicSights.
Round 2: ItzVexo_STARCODE leads in clean strike quality, 15.2 to 14.3, and significant strikes, 8 to 6. However, CirjanicSights has one stun to zero and leads effective offense 15.8 to 15.2. The round explanation again credits stronger effective striking and more confirmed stuns. This is why reading only the quality value or significant-strike count gives an incomplete picture.
Round 3: Both fighters land five clean strikes, yet ItzVexo_STARCODE leads quality and effective offense 4.6 to 3.6. The explanation awards the round for stronger effective striking. Equal clean-strike counts do not mean equal offensive impact.
Takedowns and Active Ground Control
Effective wrestling and established ground control contribute to scoring. Active offense during control earns more, so gaining a position and attacking effectively from it gives you a stronger scoring objective than simply holding on.
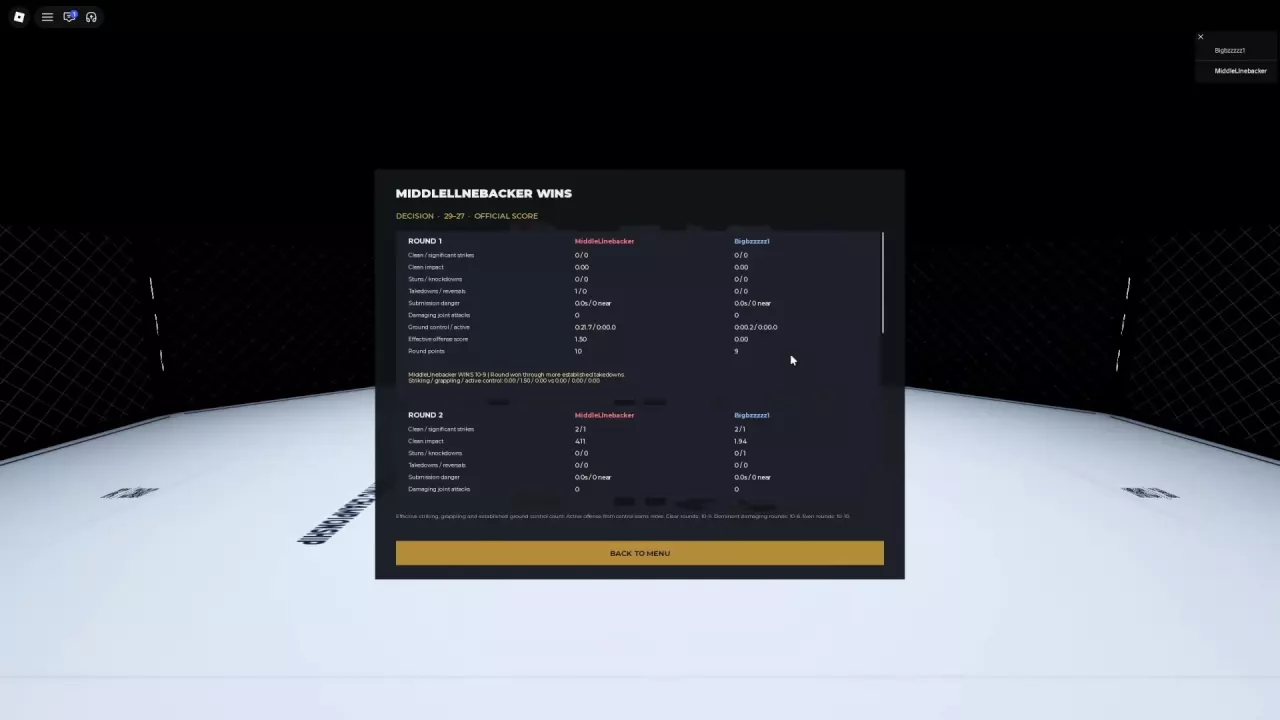
MiddleLinebacker’s first round against Bigbzzzzz1 illustrates a round won through established takedowns:
| Round 1 statistic | MiddleLinebacker | Bigbzzzzz1 |
|---|---|---|
| Takedowns / reversals | 1 / 0 | 0 / 0 |
| Ground-control time | 21.7 seconds | 0.2 seconds |
| Active time | 0.0 seconds | 0.0 seconds |
| Effective offense score | 1.50 | 0.00 |
| Round points | 10 | 9 |
The round explanation credits more established takedowns. Both fighters have zero active time, yet MiddleLinebacker wins the round 10–9. That distinguishes the value of establishing a takedown from the additional value of active offense during control; the 1.50 offense value here should not be treated as a fixed reward for every takedown.
For a grappling approach, aim to establish the takedown, secure useful control, and create an attacking angle. Use the grappling guide for grips and takedown setup, then the ground combat guide for attacking and repositioning once grounded.
Keep Fight Totals Separate from Decision Points
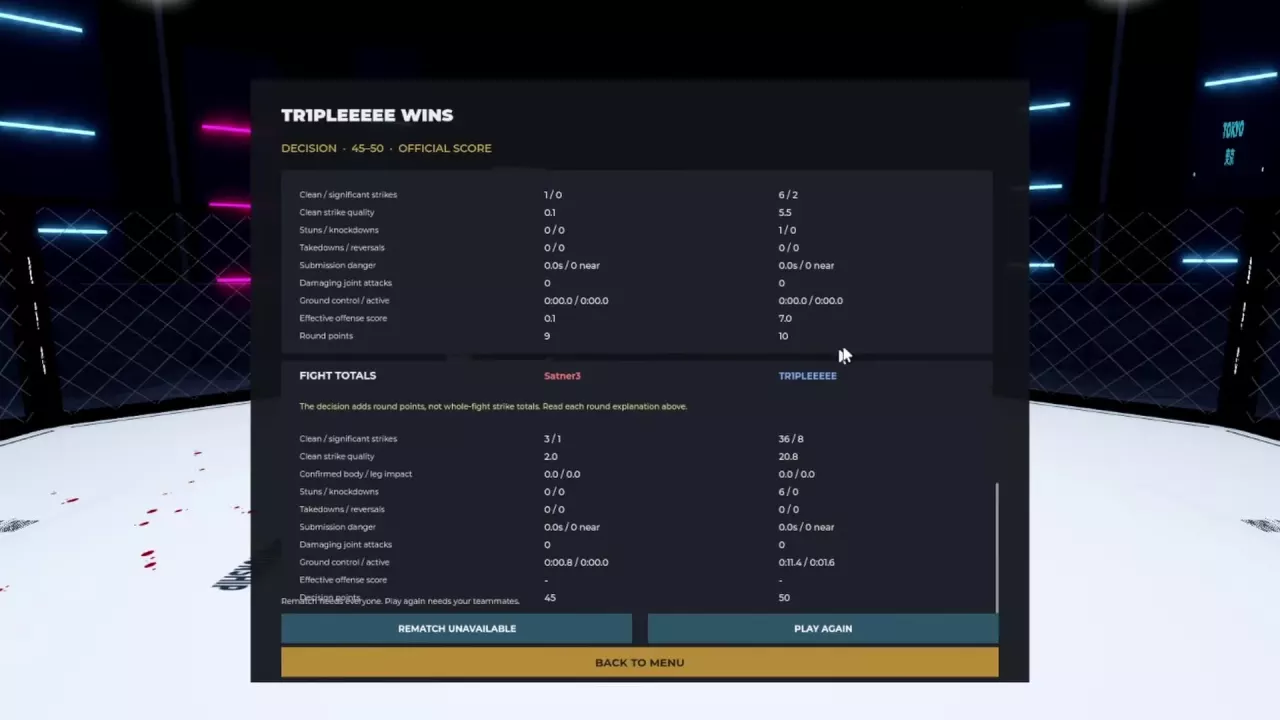
In the five-round fight between Satner3 and TRIPLEEEEE, TRIPLEEEEE wins a 45–50 decision. The full-fight Clean / significant strikes totals are 3/1 for Satner3 and 36/8 for TRIPLEEEEE.
Those strike totals describe offensive output across the fight. The 45 and 50 are decision points, accumulated from the rounds; they are not strike counts or values calculated directly from that full-fight strike row.
To understand how the result was built, read the individual round explanations. In this fight, TRIPLEEEEE wins round 1 for stronger effective striking and more confirmed stuns, then round 2 for stronger effective striking. Both rounds score 9–10 in Satner3–TRIPLEEEEE order. Use the fight totals to spot broad patterns, and the round sections to explain where the decision points came from.
Turn the Result into a Training Priority
Choose a practice goal from the rounds you lost:
- Few clean strikes: Work on positioning and distance so your attacks connect. Start with the striking guide rather than trying to solve missed attacks by throwing more of them.
- Similar clean-strike counts but weaker offense: Compare quality, stuns, and the round explanation. Focus on cleaner, more effective contact; the third round of the 29–28 fight shows why matching strike counts alone is insufficient.
- A grappling approach with little scoring impact: Work toward established takedowns and useful control, then add active offense. Practice finding attack angles and repositioning with the ground combat guide.
- One strong round followed by weaker rounds: Pursue effective offense in each round. A productive stretch contributes to that round’s score; the final decision still adds the separate round awards.
Use lessons, Practice, and bot fights to work on the relevant skill, then compare the same scorecard categories after your next decision.
Ragdoll MMA Match Rules: Arenas, Rounds, and Finishes
Learn Ragdoll MMA match rules: arena voting, Exhibition and Ranked round timers, intro skips, knockouts, bone breaks, replays, and rematches.
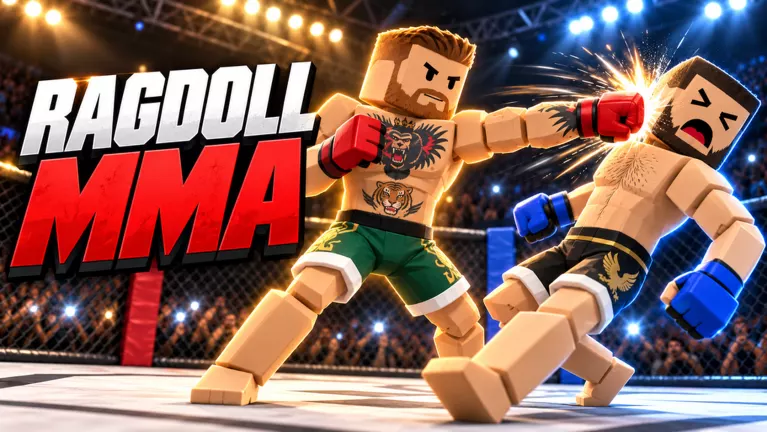
Ragdoll MMA Striking Guide: Punches, Kicks, and Defense
Learn Ragdoll MMA punch controls, guided kicks, and jump kicks. Improve contact with better positioning, hit feedback, and patient counterattacks.
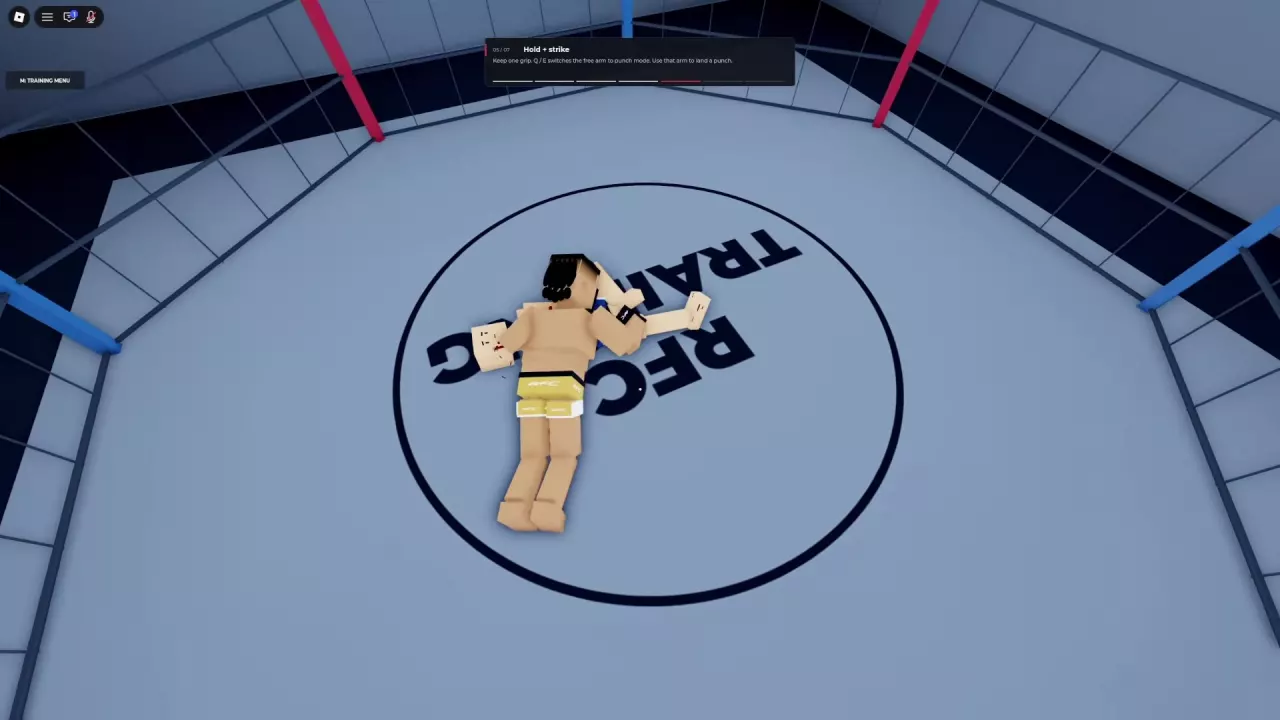
Ragdoll MMA Ground Combat: Strike, Reposition, and Get Up
Learn Ragdoll MMA ground combat controls: crawl, turn, punch while holding, guide both legs, and get up. Find better angles and understand weight penalties.
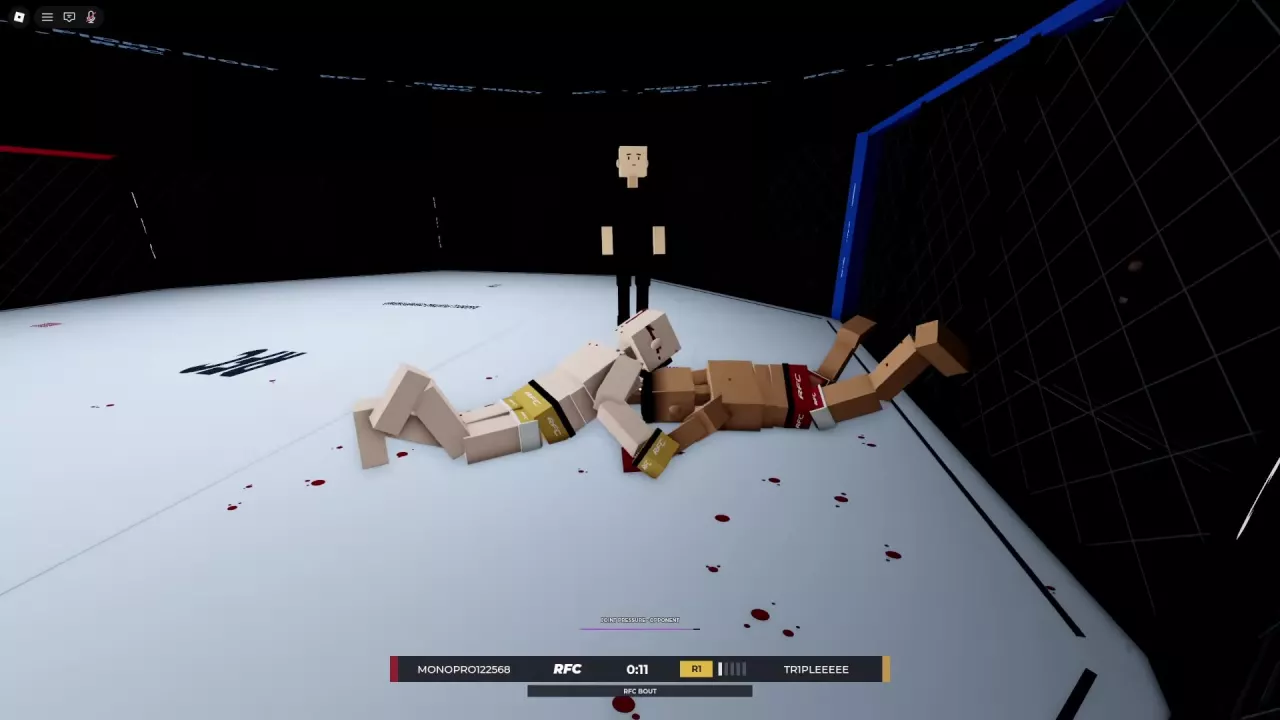
Ragdoll MMA Grappling Guide: Grabs, Slams, and Joint Pressure
Learn how to grab, reposition, release, and slam in Ragdoll MMA, plus leg takedown attempts, submission positioning, and joint-pressure warnings.
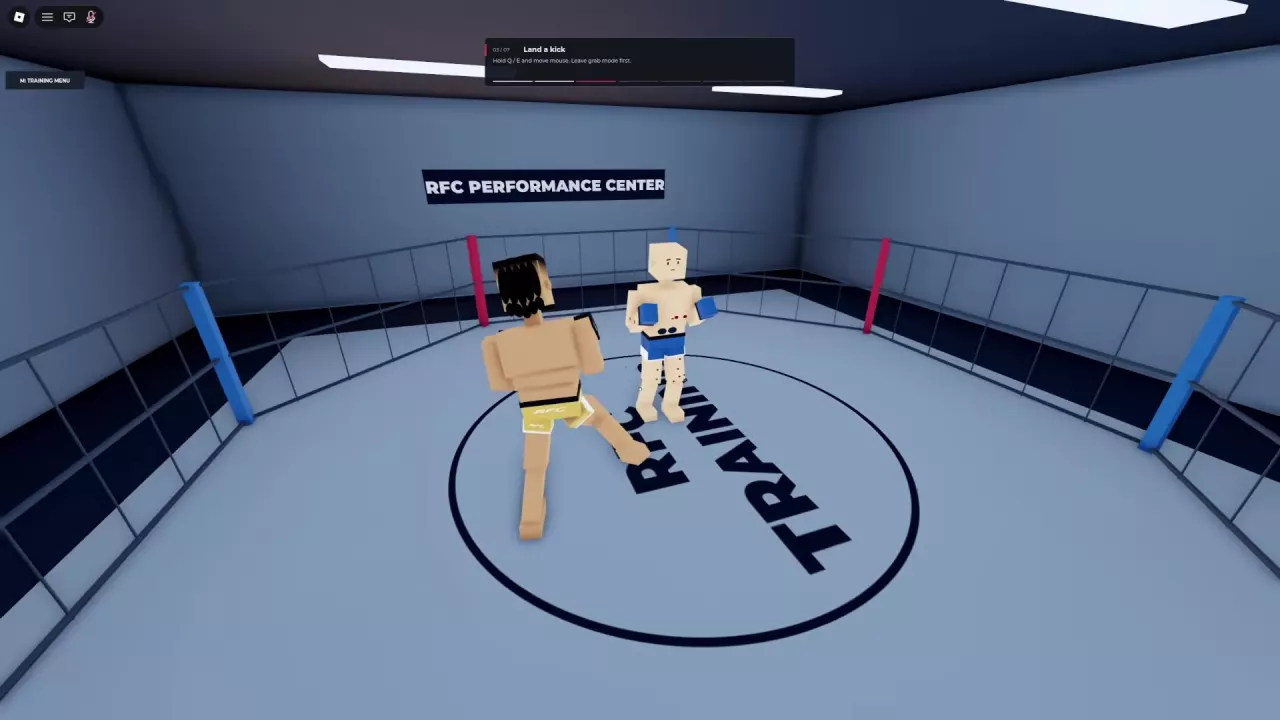
Ragdoll MMA Training: Lessons, Practice, and Bots
Choose Ragdoll MMA training activities, complete punch, kick, grip, and leg-control lessons, practice on punching bags, and fight Easy, Medium, or Hard bots.