
Grappling Controls and What to Aim For
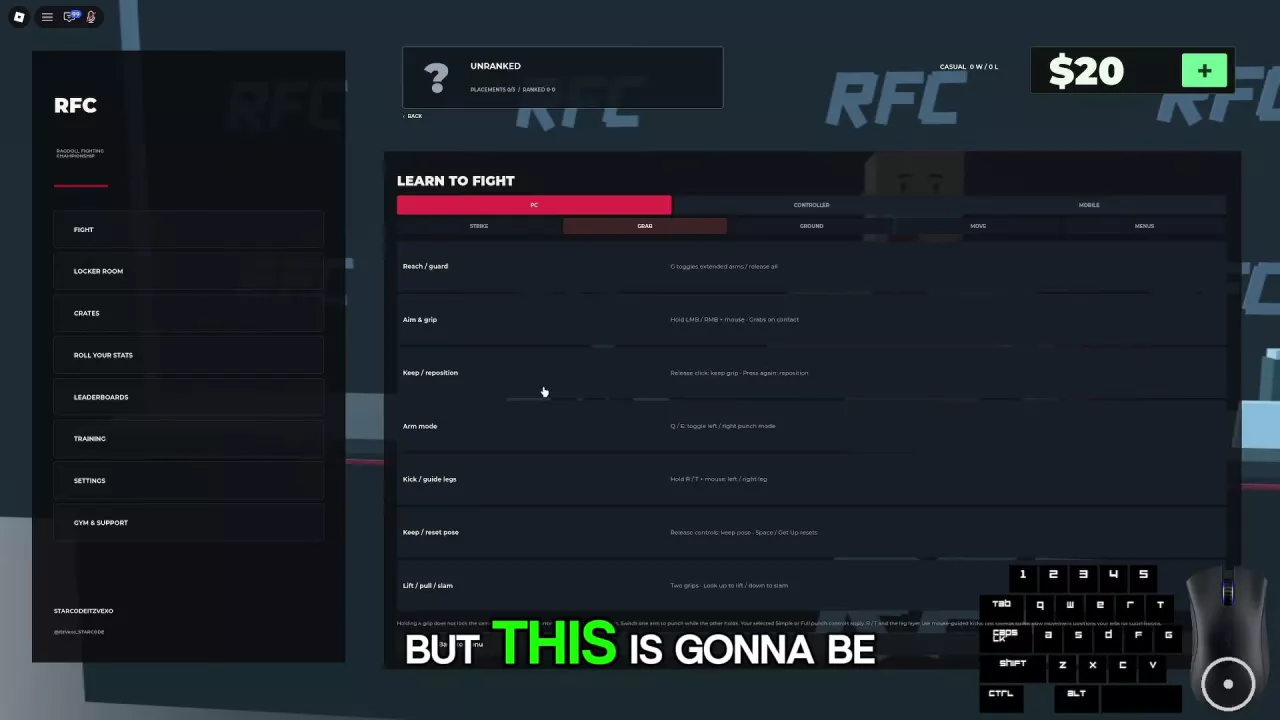
These inputs apply to PC keyboard and mouse controls. Use them according to your current combat state.
| Input | Grappling action |
|---|---|
| G | Extend your arms for grabbing; release all grips when already holding |
| Hold left/right mouse button + move mouse | Guide the left/right hand; contact establishes a grip |
| Release that mouse button | Keep the established grip |
| Press that mouse button again | Reposition that hand |
| Q / E in grab mode | Switch the left/right arm into punch mode |
| Hold R / T + move mouse in grab mode | Guide the left/right leg |
| X while moving | Dive in your movement direction |
| Space while grounded | Request a get-up; also reset a held limb pose |
A grip, a takedown, and a useful attacking position are separate achievements. First make contact, then work toward control that lets you reach a target or position a limb. Top position can support ground strikes, while body and back control can create opportunities to reach an arm. Either fighter can change position during the scramble.
Wrestling allows grappling and submissions but excludes striking, whether you are standing or grounded. Choose a ruleset that permits strikes if you want to combine grips with punches or kicks. Compare the fight modes or use the PC controls reference for inputs outside grab mode.
Make Contact and Secure a Grip
Grabbing requires your hand to touch the opponent. Standing close or pressing G by itself does not establish a hold.
- Move close enough to reach the opponent.
- Press G to extend your arms in grab mode.
- Hold the left mouse button to guide your left hand or the right mouse button to guide your right hand.
- Move the mouse to bring that hand onto the opponent. Contact establishes the grip.
The same contact requirement applies when the opponent is already down: approach and guide your hand onto their body or limb. If you cannot connect, check that grab mode is active, that the ruleset allows grappling, and that your hand actually reaches the target.
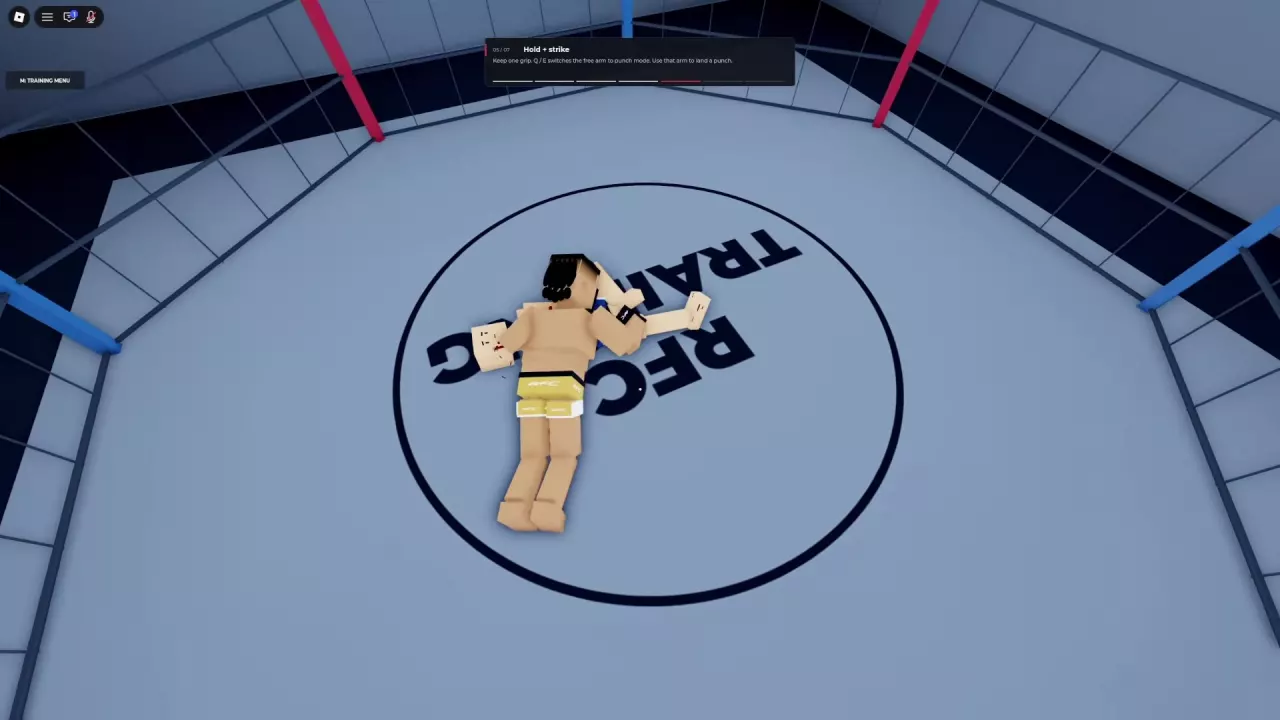
For a controlled place to learn the sequence, use the grip lesson in Guided Training.
Hold, Reposition, and Let Go
Once a hand has secured its grip, release its mouse button to keep holding. Press that button again when you want to reposition the hand. Press G to let go with all gripping hands.
| Grip feedback | Meaning |
|---|---|
| Green GRIP SECURE · BUILD PRESSURE | Your grip is secure; the prompt calls for pressure |
| Orange GRIP SLIPPING | Your grip is slipping; it can return to a secure state during the exchange |
These grip states can occur during standing clinches and ground grappling. A slipping warning does not necessarily mean the hold has already ended.
Holding a grip does not lock the camera. Holding a limb-control input does. Release the mouse button after establishing contact when you want to look around while keeping your grip.
If the clinch blocks your view or leaves you taking return punches without a useful angle, consider releasing and resetting the exchange. Keeping an awkward hold is not always worth staying attached.
Free One Hand or Move the Clinch
Keep a grip while punching
In a ruleset that permits striking:
- Choose the hand that will stay attached.
- Press Q to switch the left arm into punch mode, or E for the right arm.
- Punch with the freed arm using your selected Simple or Full arm controls while the other hand keeps its grip.
This is useful when one hand gives you enough control and the other has a clear path to a target. If you want to keep both hand grips, hold R to guide the left leg or T to guide the right leg instead. Fast mouse movement produces a kick; slow movement adjusts the leg's position.
Drag the opponent or shift toward the cage
Secure a close grip, stay near the opponent, and move while maintaining the hold. You can drag them or move the clinch toward the cage, then adjust your hands as the relative position changes.
The opponent can still contest control. A clinch can pass through a fall, a return to standing, and another ground exchange without ending. Use movement to seek a better position rather than assuming the hold fixes the opponent in place.
Attempt a Leg Takedown
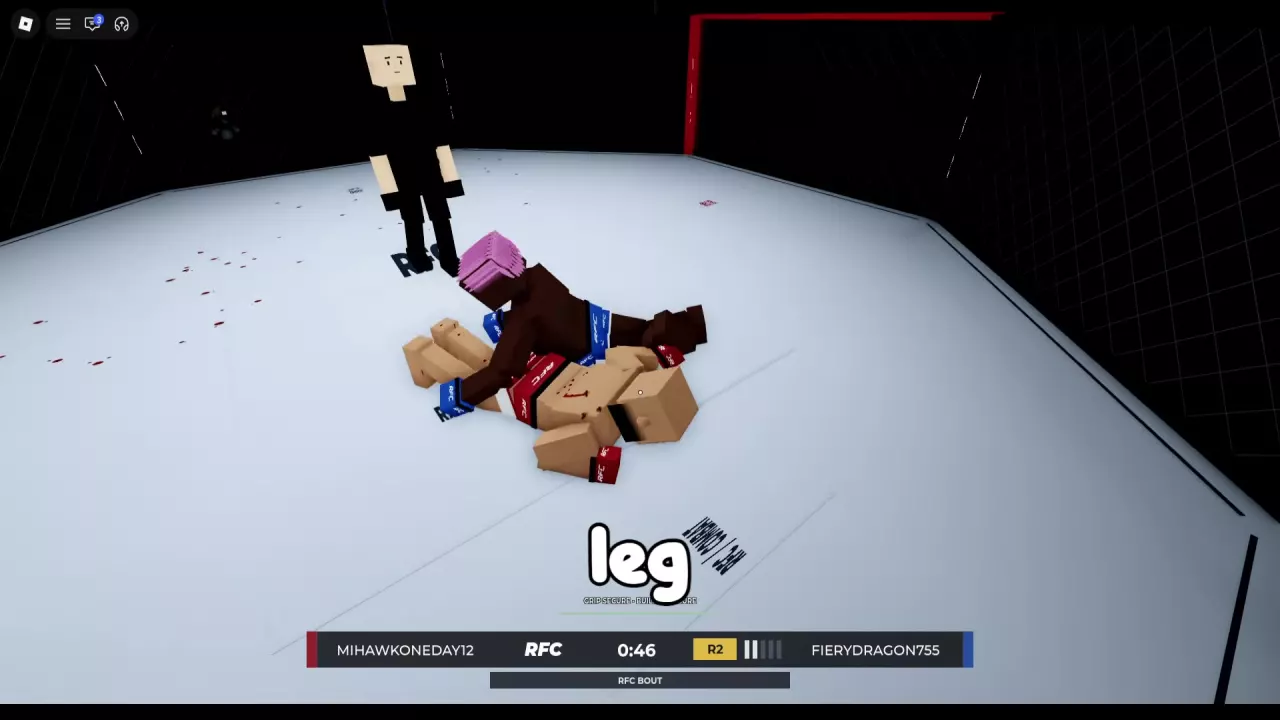
- Close the distance and press G to enter grab mode.
- Hold a mouse button and guide the corresponding hand onto the opponent's leg.
- Establish contact, then use the leg grip to try to bring the opponent down. To dive, move in the desired direction and press X.
X makes you dive in your movement direction; it does not guarantee a takedown. A missed attempt can leave you exposed to a head kick, so adjust your position before committing again instead of repeating the same approach into a counter.
Even when both fighters fall, the opponent can land on top. A leg-grab attempt can therefore move the fight to the ground without giving you the advantage you wanted. Watch the resulting position and keep adjusting rather than treating the fall as completed control.
A heavier grappling build may appeal to your preferred style, but body measurements involve tradeoffs. Use the fighter stats and build guide to compare those effects before changing your build.
Lift and Slam with Two Grips
- Enter grab mode and establish contact grips with both hands.
- With both grips secured, look up to lift the opponent.
- Look down to slam them.
Get into a useful position before trying repeated slams. If you are trapped underneath the opponent, work on changing that position or requesting a get-up before attempting another lift.
If the lift does not work, reposition instead of continuing the same attempt. In a ruleset that permits striking, another option is to keep one grip and free an arm to punch.
Position Limbs for Joint Pressure
Submission positioning combines an established grip with deliberate limb placement. While grappling:
- Secure contact and adjust your position relative to the opponent.
- Hold R for the left leg or T for the right leg.
- Move the mouse slowly to position that leg. A fast sweep produces a kick instead.
- Release the limb-control input to keep the pose. Use Space / Get Up to reset it.
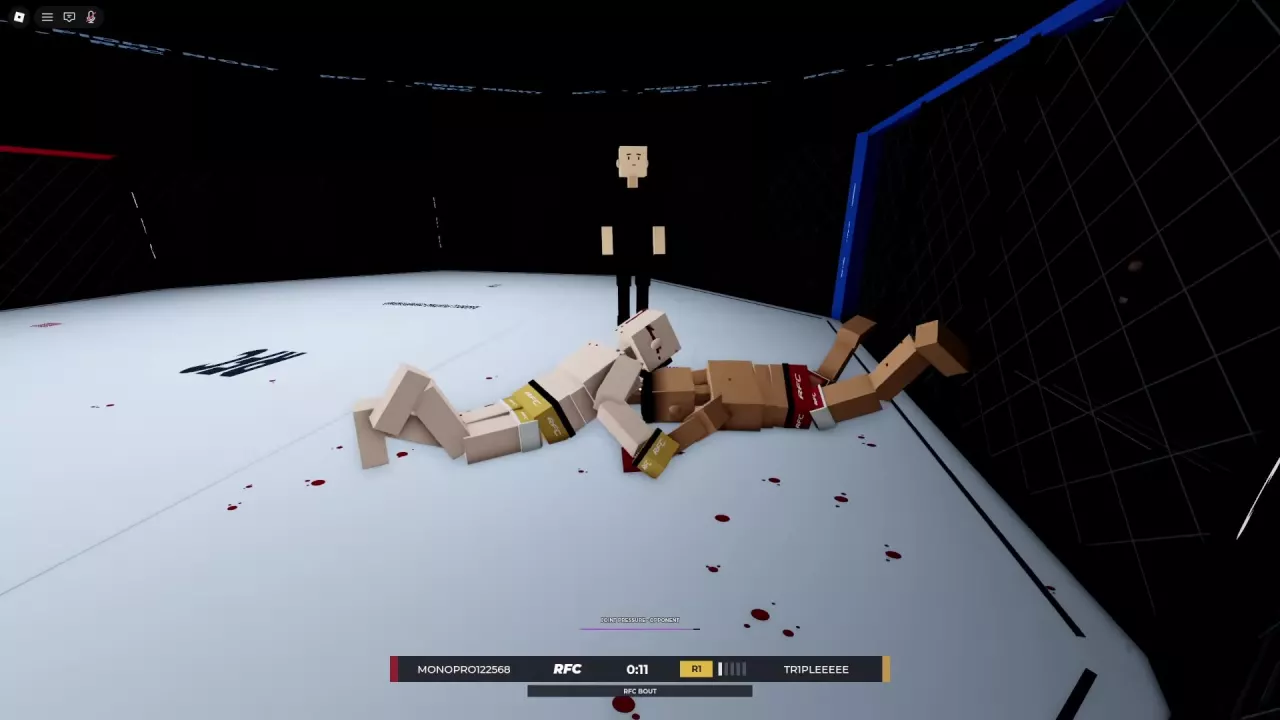
Body or back control can be a starting point for changing position and reaching an opponent's arm. Think of that transition as a positional goal: control the body, find an accessible arm, and adjust the hold rather than expecting body contact alone to produce a finish.
JOINT PRESSURE · OPPONENT identifies pressure on the opponent's joint. It is feedback about who is under pressure, not a victory announcement.
A neck-control approach combines a neck hold with X to drop body weight into the exchange. One such exchange ended in Bone break; that result should not be treated as a choke-submission finish. For how the game identifies the end of a bout, see match finishes.
Respond to Joint Danger and Continue on the Ground
| Warning | What it means and how to respond |
|---|---|
| JOINT PRESSURE · ON YOU | Your own joint is under pressure. Pay attention to the controlled limb and your body position. |
| JOINT AT RISK · RELIEVE PRESSURE | Prioritize trying to disengage from the awkward hold and relieve pressure. |
Act promptly when an arm is caught in an abnormal position. An arm-control exchange can progress from these warnings to a right shoulder bone break. While repositioning, try to avoid exposing your back to the opponent.
G releases your own grips; it does not release the opponent's grip for them. Space requests a get-up and resets a held pose, but is not a guaranteed escape from their control. You can rise while still clinching.
Being underneath also does not disable every action. Your limbs remain controllable, and ground punches remain available where striking is allowed. Use movement and mouse aim to adjust your position, then look for a limb that can reach a useful target. The ground combat guide explains movement, striking angles, and getting up in more detail.
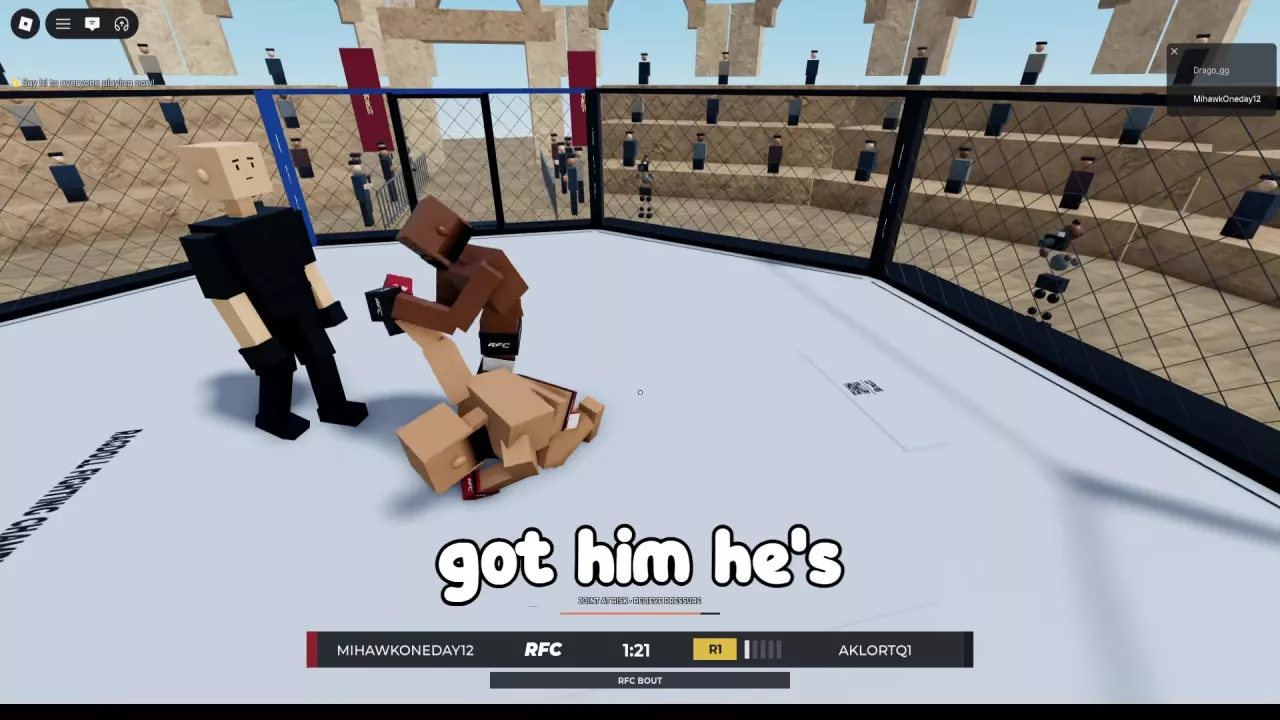
Ragdoll MMA Ground Combat: Strike, Reposition, and Get Up
Learn Ragdoll MMA ground combat controls: crawl, turn, punch while holding, guide both legs, and get up. Find better angles and understand weight penalties.
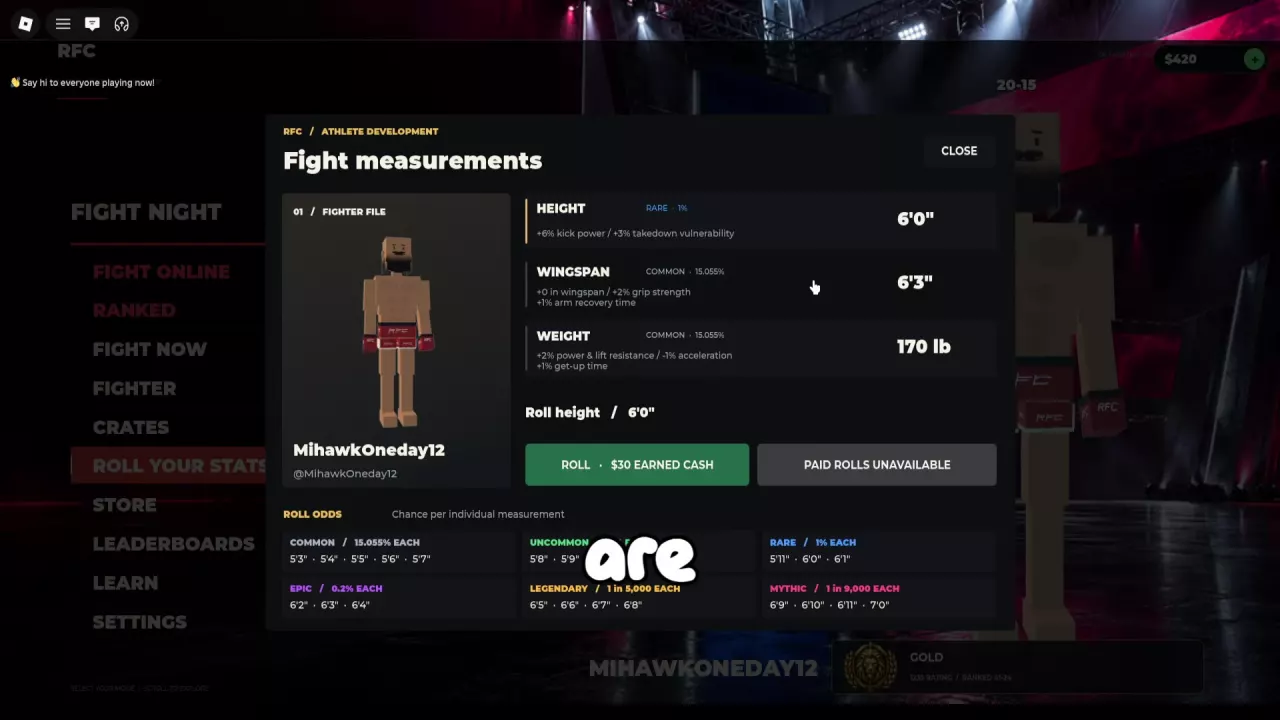
Ragdoll MMA Fighter Stats and Build Choices
Compare Ragdoll MMA fighter stats, browse every height, wingspan, and weight option, and choose combat benefits and tradeoffs worth keeping.
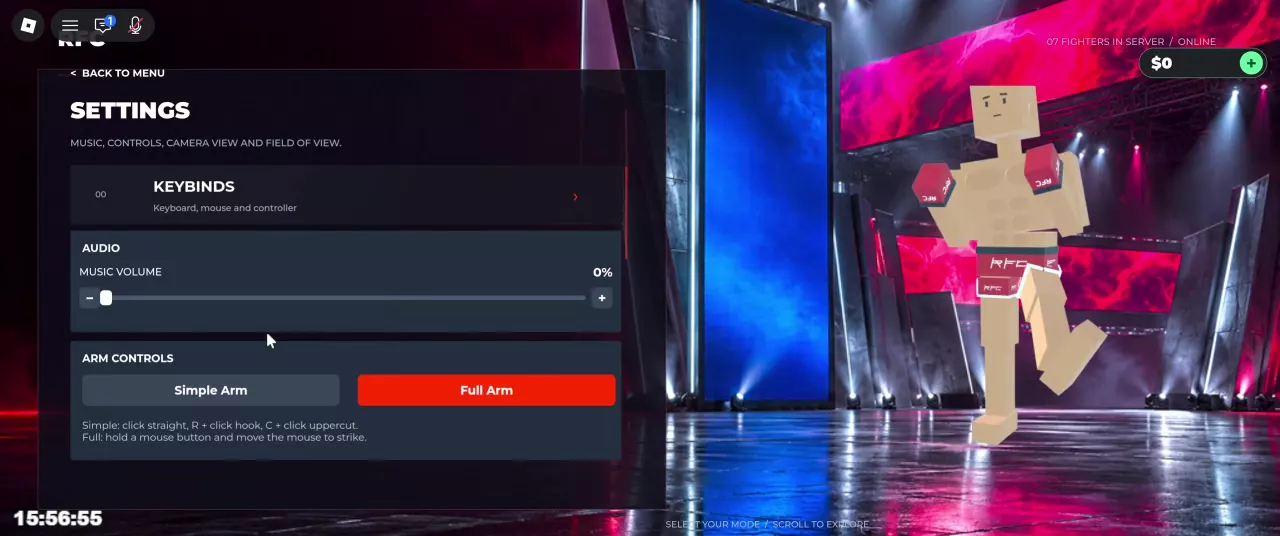
Ragdoll MMA PC Controls and Arm Modes
Find Ragdoll MMA PC controls for punches, kicks, grabs, and ground combat. Compare Simple Arm and Full Arm, switch views, and use the taunt wheel.
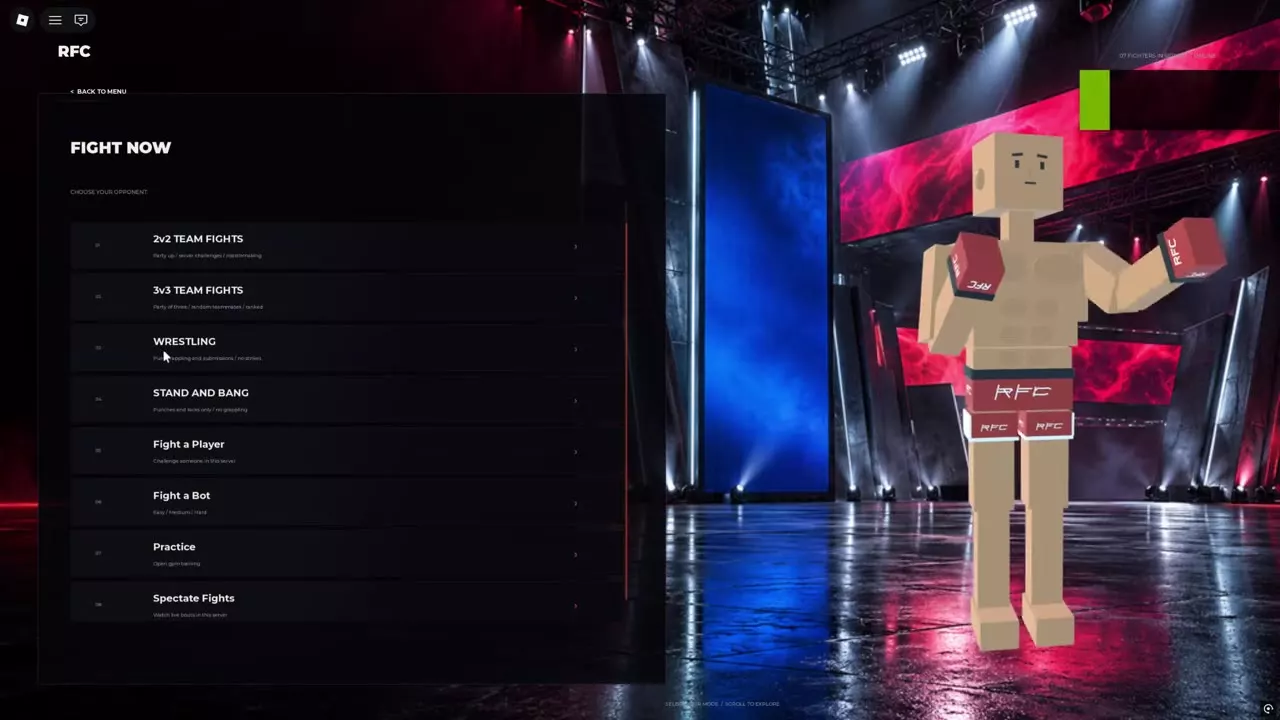
Ragdoll MMA Game Modes: Casual, Teams, and Rule Sets
Compare Ragdoll MMA game modes, find Quick Fight, Ranked, team fights and restricted rules, challenge players, spectate, and cancel matchmaking.
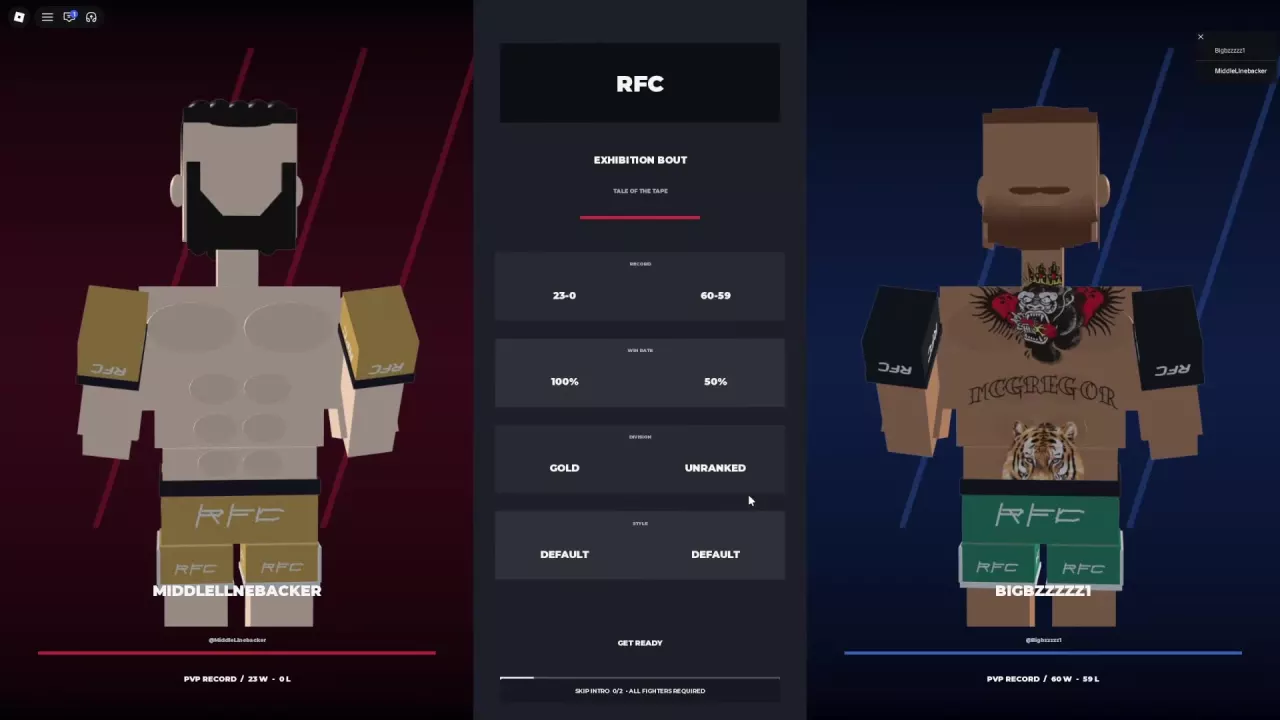
Ragdoll MMA Match Rules: Arenas, Rounds, and Finishes
Learn Ragdoll MMA match rules: arena voting, Exhibition and Ranked round timers, intro skips, knockouts, bone breaks, replays, and rematches.
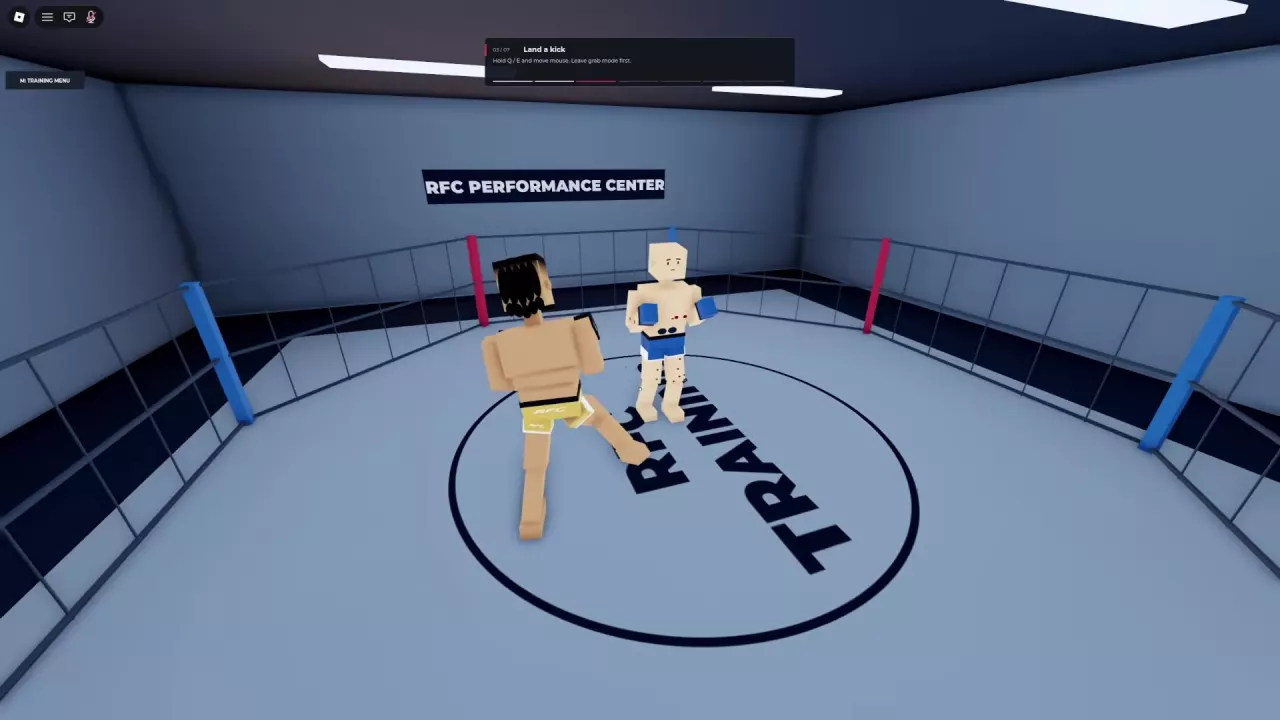
Ragdoll MMA Training: Lessons, Practice, and Bots
Choose Ragdoll MMA training activities, complete punch, kick, grip, and leg-control lessons, practice on punching bags, and fight Easy, Medium, or Hard bots.